How to Create Your First CS2 Skins?
Creating CS2 skins (Counter-Strike 2) can be as attractive as playing them yourself. No matter if you are a future designer, a skin collection enthusiast, or just curious to see your creation in the game, this article from the YaninaGames team explains in detail the whole process. Find out the major steps of creating CS2 skins – from designing a skin to uploading it to the Steam Workshop.
If you’ve ever admired a sleek Butterfly knife in CS2 or spent hours browsing skin marketplaces, you already know how much personality custom skins may add to the favorable game. Creating unique skins in CS2 gives you the chance to leave a unique mark on the community. And who knows, maybe your skin becomes the next community favorite with a high price tag on it.
The Detailed Guide to CS2 Skins Creation for the Steam Workshop
Prepare for the fact that the CS2 skin creation process may be challenging at first. You especially need to take into account the CS Source 2 engine and improved rendering tools. But with the right steps, it can be quite easy. Follow these steps on how to design and upload a skin to the Steam Workshop.
Step 1: You’ll Need These Tools
Prepare such tools and software installed on your PC:
- Image editing software. Adobe Photoshop or the free alternative GIMP.
- 3D texturing software (optional). Substance Painter for more advanced effects like normal maps and roughness.
- VTFEdit or Crowbar (optional). For texture conversions, mainly relevant if working with older CS:GO methods.
- CS2 Workbench Tool. It’s a part of Counter-Strike 2 for checking out your designs first.
Confirm that CS2 is installed through Steam and the developer console in the game settings is enabled.
Step 2: Become Acquainted with Skin Structure
CS2 skins are simply patterns of your creation applied to weapon models. These patterns need to correspond to specific UV maps—2D virtual representations of the 3D weapon surfaces.
Get one of the weapon UV templates that matches the one you want the most. For example, an AK-47, a Desert Eagle, or a Butterfly knife, and make sure it is used as the first layer on which your new design will be created.
The most sophisticated CS2 skins consist of several elements:
- Diffuse (base color);
- Normal maps (adds 3D surface detail);
- Roughness and metallic maps (control shininess and surface reflection).
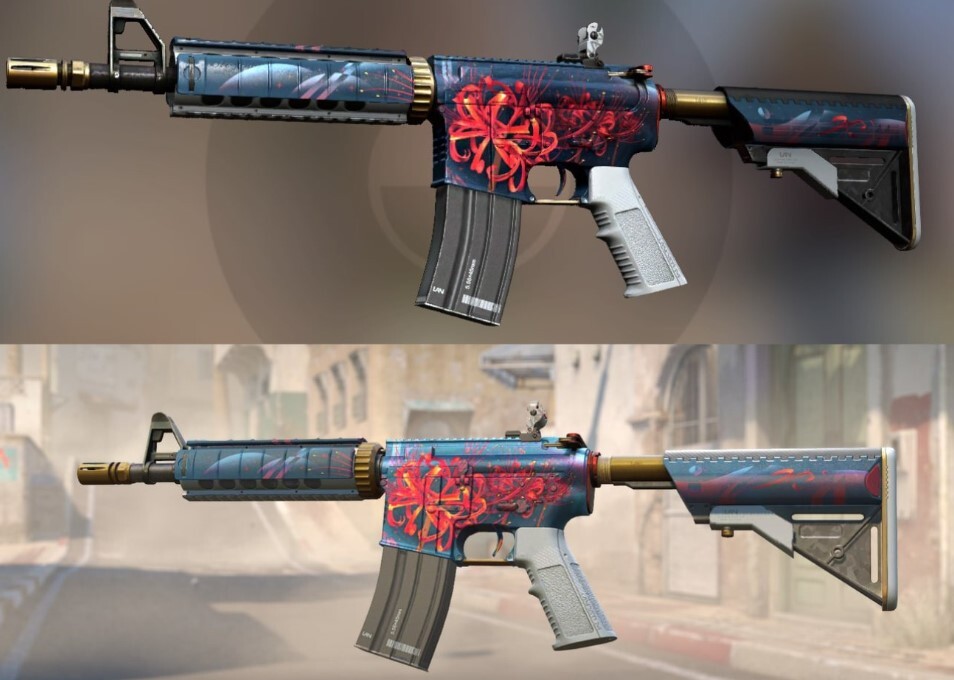
Step 3: Make the Skin
This is where the exciting part starts. Use your image editor to do the following:
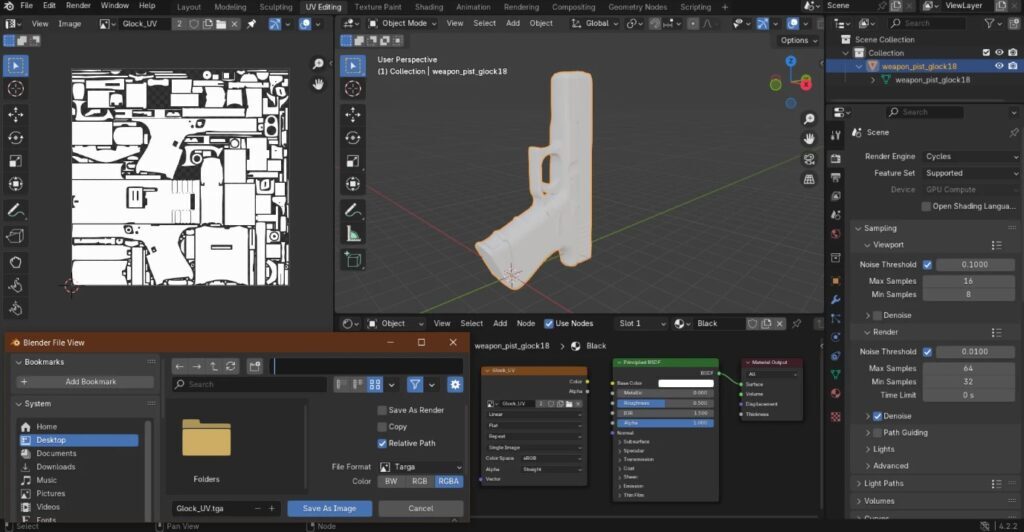
- Open the weapon UV map.
- Begin work on the design by applying it in the regular texture slot. Imagine the UV map as if it were a real canvas to be painted.
- If you want to export the final product, choose the TGA or PNG format.
Tips:
- Having layers while creating art helps manage and work on different parts of the image separately.
- If you need complete control over how the skin’s condition changes through use, add wear effects manually.
- When using Substance Painter, export the textiles just for the Source engine.
At this stage, you are free to express your creativity. Whether you want army-colored camouflage, derelict street pictures, or the latest technology, CS2 enables you to produce almost anything your creativity drives you toward.
Step 4: Load It Into the CS2 Workbench
When the texture is done, you can load it into the game and see if everything looks good to you or not:
- Open CS2.
- Open the developer console (~ key).
- Type “workbench” and press Enter.
This triggers the in-game Workbench interface that allows you to:
- Load your custom skin texture
- Adjust pattern scale, wear values, and pearlescent effects
- Rotate and preview the weapon in different lighting
This essential phase can lead to the perfect design. You will see some minor misalignments, or you might also want to change light and dark to match the bright skin in CS2 lights.
When done, keep your skin files and grab a few preview screenshots. The screenshots are necessary for your Steam Workshop submission.
Step 5: Upload Your Skin to the Steam Workshop
To make your work available to others:
- Go to the CS2 Workshop submission page.
- Choose “Submit New Item” and select CS2 as the game.
- Upload the following:
- Preview image (JPG or PNG)
- Skin texture files (TGA or PNG)
- Name and description of your skin
- Tags for visibility (e.g., weapon name, color, theme)
Describe your skin beautifully, which also tells the tale of the source of your inspiration for the skin. Their voters find the author’s idea creative and the consequent effort pleasing.
After you send it, your skin will be previewed publicly on Steam Workshop. The rest of the members can upvote it, and if there are enough voices in favor of it, Valve may decide to put it into a case soon.

Bonus: Tips for a Successful Workshop Skin
In addition to the above, here are some extra measures to make your skin unique relative to the high competition in the Workshop:
- Choose iconic weapons like the AK-47, M4A4, or Butterfly knife to start with, as they generally catch more eyes.
- Add several photos of your skin from different sides to give viewers a more vibrant picture.
- Let Reddit, Twitter/X, or CS2-themed Discord servers be where you talk about your invention.
- Create a series of skins for each gun to attract more people to your designs.
Characterized by quality skills, the most critical neat designs and textures aligned correctly are the most essential features.
Conclusion
What do you think about this guide for CS2 skin creators? The YaninaGames team focuses on delivering the most useful content for game devs and gamers. Let us know if you enjoy such kind of content – bookmark and follow our blog. In addition, we call out for all fellow developers to join our projects or offer other game-related collaborative ideas. We will send the replies to every request and offer!